2D View and 3D View
2D View
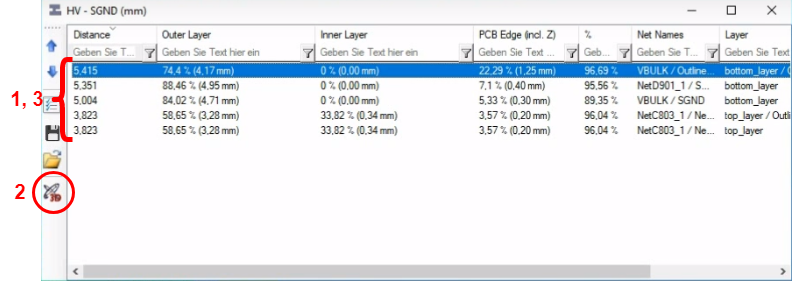
After the calculation is finished, the result may look like this:

Selecting one of the results will show you the area with a resulting line in 2D. It also shows the name of both nets, which cause the result entry.
Sometimes it can be hard to detect the issue on 2D. For this reason, it is possible to present it on 3D.
To show the result 3D, follow the instruction below.
3D View

Now a new window opens with the current design (it may take a few seconds).
On bottom left of the new created window, there are several options.
Enable the green bordered ones.

Use the result window for the following steps.

Click the "Select Nets" to activate nets in the separate window. Now the 3D view should be ready to inspect. It may look like the following image.
