 |
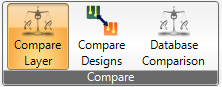
By using the function Compare Layer in PCB Investigator, you are able to compare different layers with each other. |
(If you just want to know how to use "Compare Layer", start reading at "Now we can start comparing layers". The previous description is just for completion and better understanding.)
Often, it is important to compare an ODB layer with a Gerber layer. To add a Gerber file to the open ODB design, simply use the Drag & Drop function.
If you want to compare two ODB layers which do not have the same design, don´t drag and drop it. The following picture shows how to import a layer from ODB.
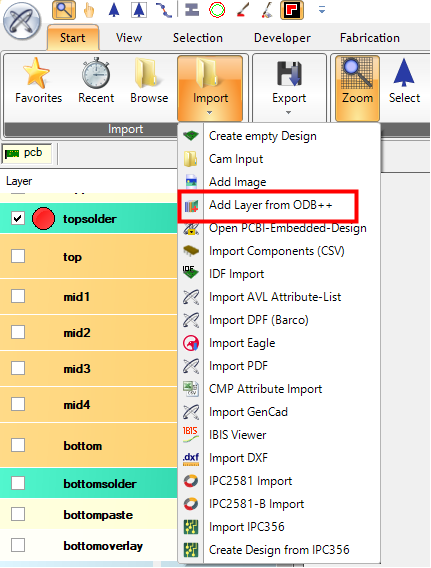
After opening the "Add Layer from ODB++" dialog, you will see the following dialog.
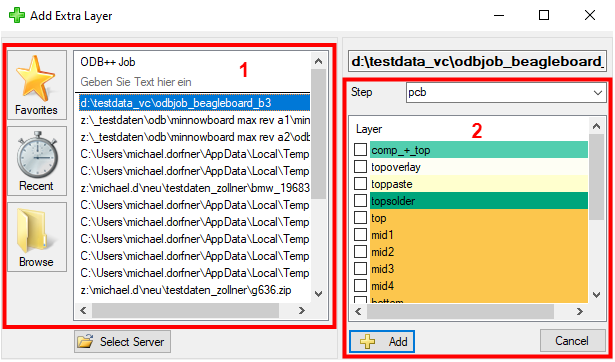
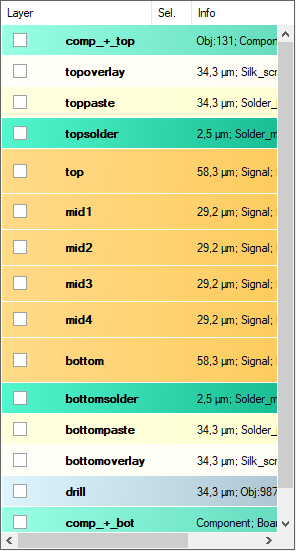
1. In the left part of the dialog, you have to choose the job. It contains the second layer that you want to compare to the first layer design. Double clicking the design will fill the right side (Nr.2) with all layers of the design.
2. Choose the layer you want to add to the opened job.
Now we can start comparing layers.
"Comparing Layer" can be found in the "Extras" tab.

Choosing "Compare Layer", the following dialog will be opened.
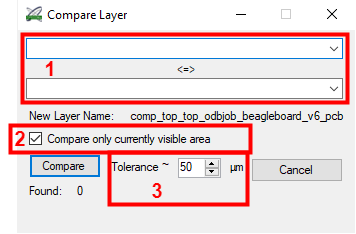
In this dialog you can differentiate between three options.
1. Choose the layer you want to compare.
2. Sometimes the design is bigger than the pcb with its outline. For this reason, the checkbox can be used. If the box is checked, the pcb layers will just be compared to the outline.
3. Comparing two layers may show different results depending on the tolerance. Smaller values cause extremely small deviations. These discrepancies can often be neglected.
(Caution: It is the responsibilty of the user/company whether such deviations can be ignored.)
The results will be shown on a new created layer. The name of the layer will be compounded of "comp_LAYERNAME1_LAYERNAME" and will appear at the end of all layers. Sometimes the difference between the two layers gets evident by activating both layers.
For example:
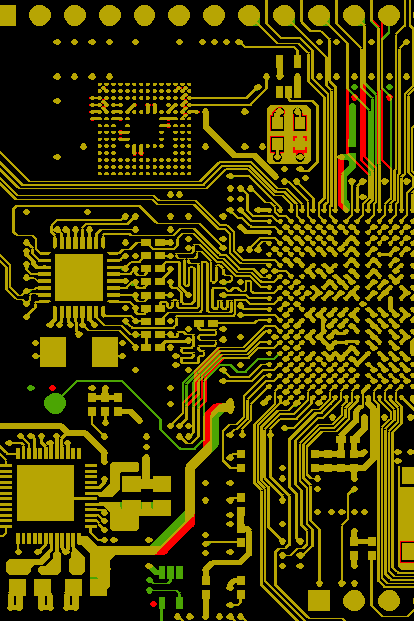
It is more obvious to use the created result layer. On this layer, you can find colored areas. These areas show where the layers are identical taking into account the set tolerance.
The following image shows an example:
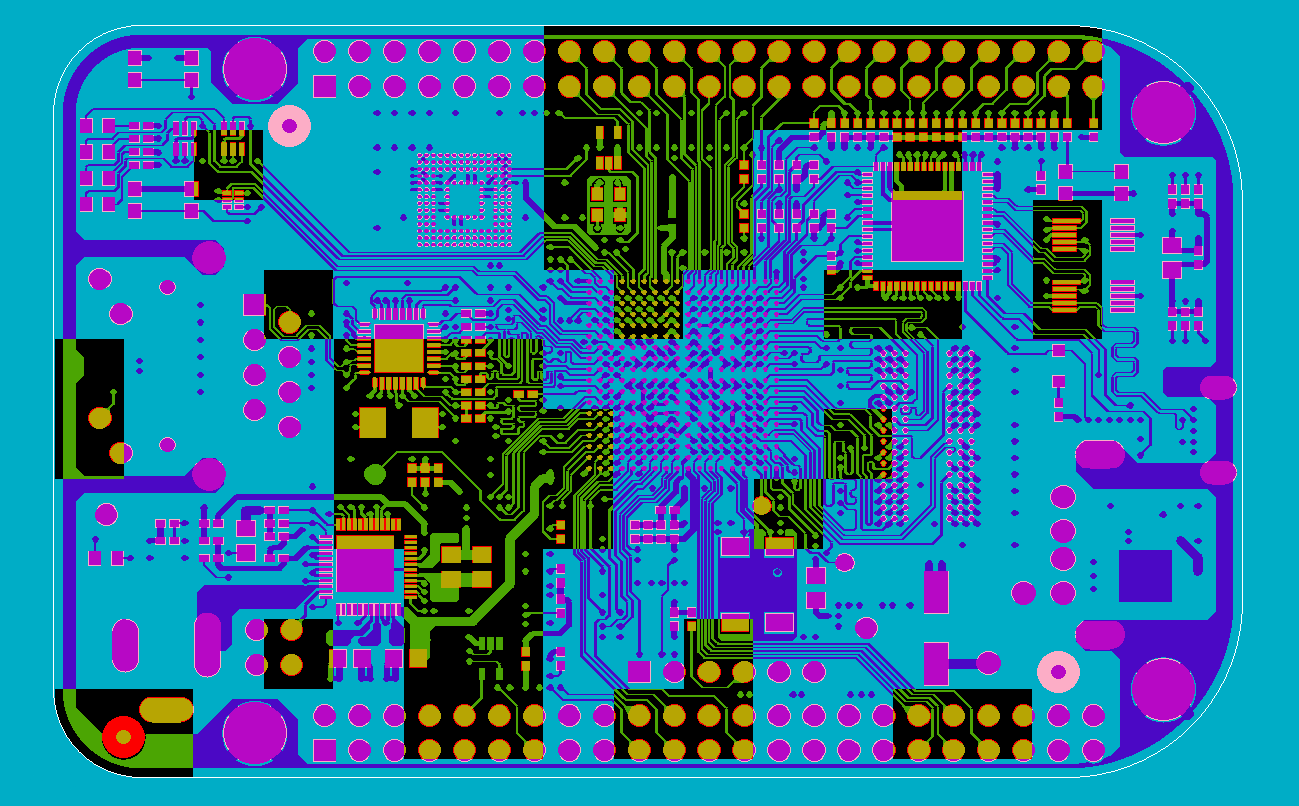
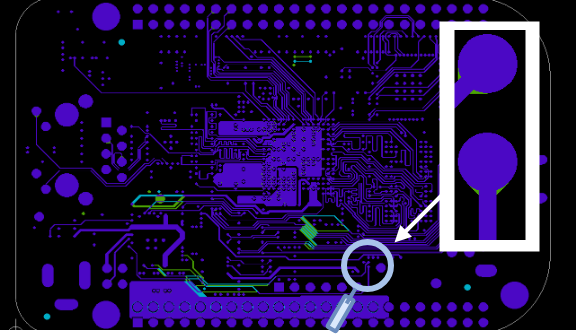
All elements below the light blue areas are fine. Everything else needs to be checked. One reason for using "Compare Layer" may be some tiny details that you mag not be able to see with your eyes (example in the following picture).