By using the 'AOI check' button and switching to 'H-Bridge' the following window appears:
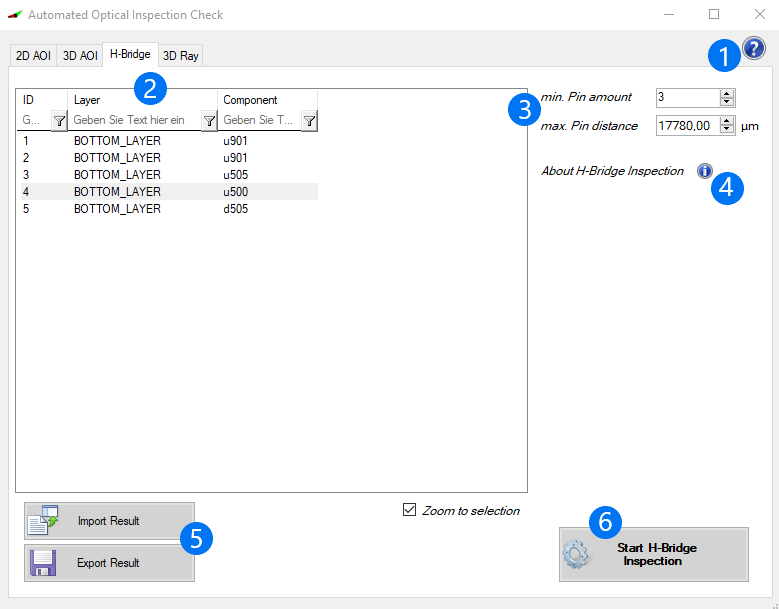
1. If you click on the question mark, you will be redirected to the corresponding page of the manual.
2. ID: Identification Number
Layer: Contains on which side the pin can be found
Component: Component name
3. Min. Pin amount: Minimum number of pins to be checked for an H-Bridge
Max. Pin distance: Maximum distance between two pins up to which a check will be performed
4. By clicking on the "i" you get a short explanation including an illustration showing how the H-Bridge Inspection works.
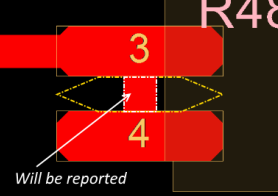
If Copper is found within the marked area, it will be reported during the H-Bridge Inspection. Such areas can cause problems in the later AOI analysis.
5. The inspection can now be saved using the "Export Result" option. When using the "Import Result" option, an old inspection result can be loaded.
6. After you have adapted all values to you requirements, you can start the inspection.