(Hint: This description won´t help you to write a code, but to use the "Script Engine" plugin.)
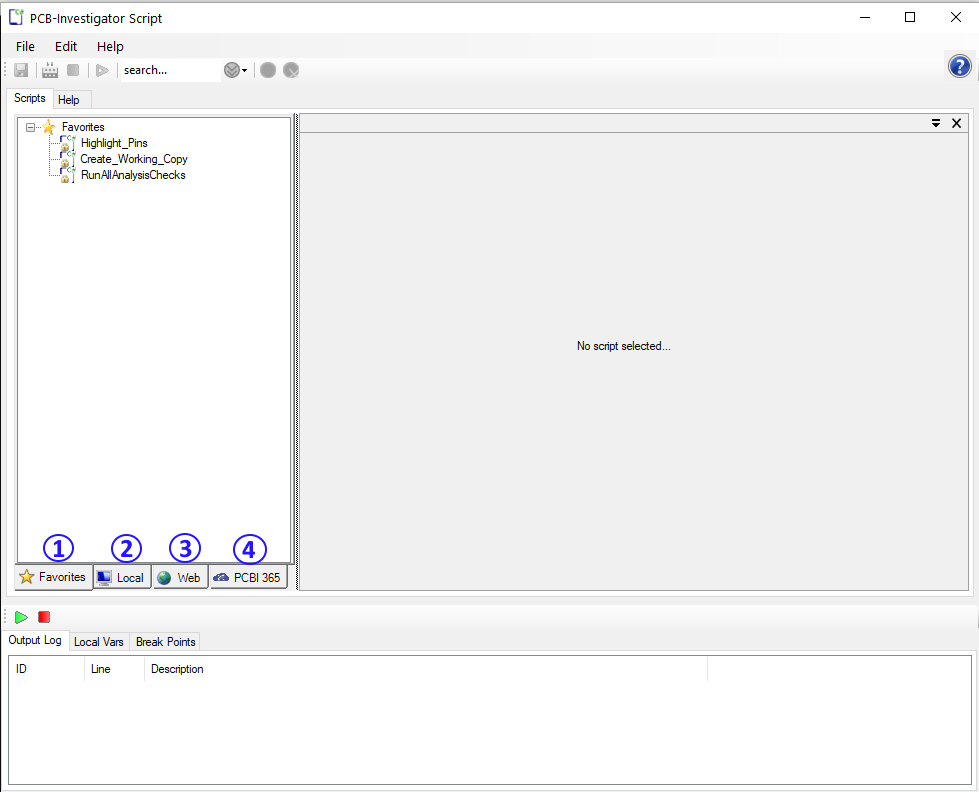
The "Script Engine" allows you to write your own code in a script an use it within PCB-Investigator. To open the dialog click the "Script Engine" button.
After opening the "Script Engine" dialog for the first time, you will see two scripts in your "Favorites" tab for demonstration purposes.
Usually the "Favorites" tab contains the scripts you are using most of the time. Every script within the "Favorites" tab can be placed on the PCB-Investigator main ribbon menu as a button (more details see below). It gets visible after restarting PCB-Investigator. To add your own scripts or online scripts, you have to use the other two tabs.
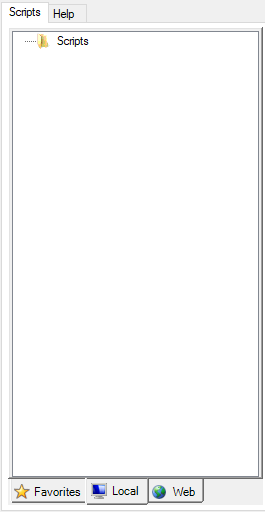
If you are using the "Script Engine" for the first time, the "Local" tab won´t contain any scripts.
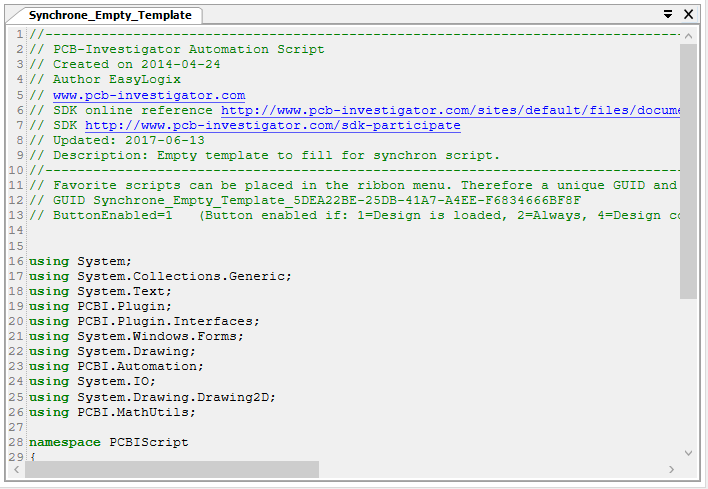
If you click on the "Web" tab and choose a script, you can see the code of the script on the right side. The "Web" tab does not allow to edit the code (marked by the grayed background of the code block).
PCBI 365
Add scripts to local/favorites tab
To add scripts to the local tab, there are two ways.
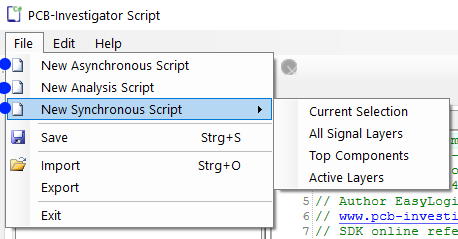
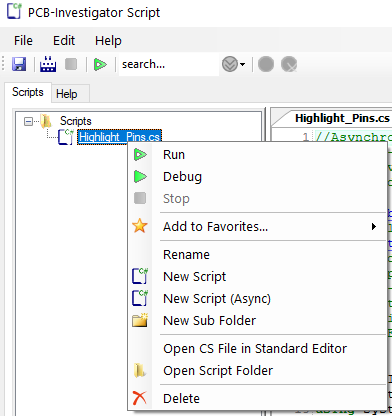
1. Create your own script: To create your own script, you can add it by using the "File" tab at the bottom or by just right clicking on the white area in tab control
Both possibilities allow you to add a new script. There are different types of scripts you can add. These types do act completely different.
Asynchronous Script: Every asynchronous script runs as long as you stop it manually after starting. It allows you to run a script in the background until you do not need it anymore. An example of an asynchronous script is the "Higlight_Pins" script. It makes all components of the design flash in one color temporary.
Analysis Script: This type of scripts includes synchronous scripts. The difference to an usual synchronous script is that the variables of an analysis script will be managed by PCB-Investigator itself.
Synchronous Script: These scripts will run once until their job has been completed. There is no need to stop the script manually. You can choose between the current selection, all signal layers, top components and active layers.
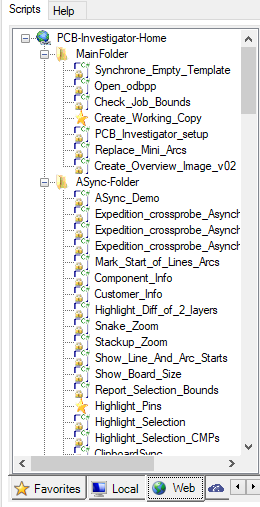
2. Add a "Web" script (already existing script)
To add an existing script switch to the "Web" tab. The opened "web" should look similar to the following image. With the "search" field at the top of the window you can search for a certain name or description.
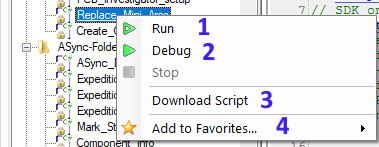
To add a web script to your local/favorites tab, right click on the desired script. This shoul look like the following image.
Allows you to run the script.
"Debug" allows you to debug your script
"Dowload Script" will add a copy of the script to your "Local" tab.
"Add to Favorites" allows you to add the script to your desired favorites tab.
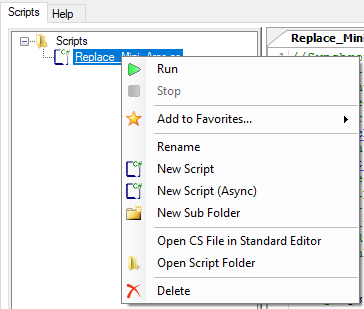
After you added it to your favorites or local tab, you can edit them. Switch to the "Local" tab, if you want to edit the code.
The "Local"/"Favorites" tab now contains your desired added script.
Adding a local script to you favorites can also be done by right clicking the script and choosing the "Add to Favorites" option. Scripts can also be organized in sub folders for a better categorization.